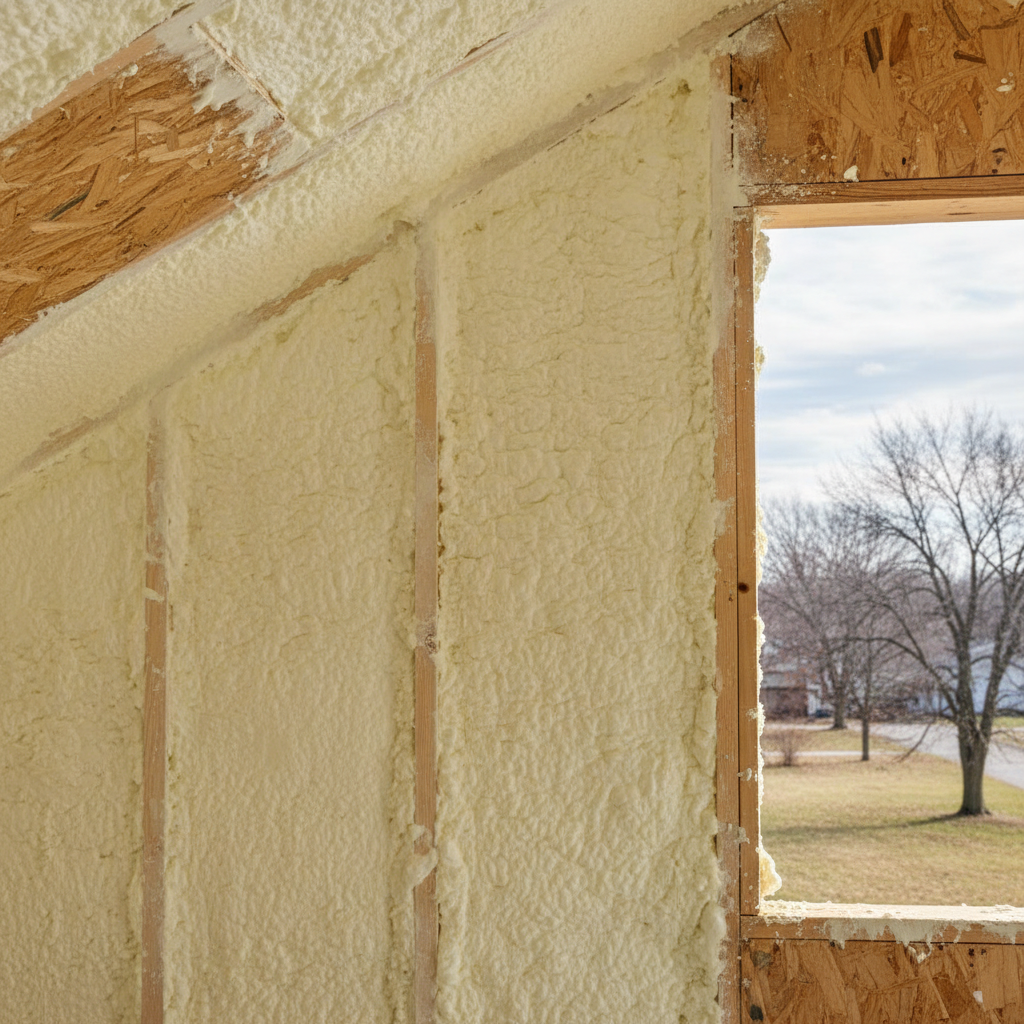
Thinking About Closed Cell Spray Foam?
So, you're eyeing closed cell spray foam for your place. Good call, really. It's tough stuff, super efficient, and it seals air like nobody's business. But here's the thing: this isn't some weekend project where you just slap a few batts of insulation in the attic. Closed cell spray foam is a whole different animal, and you absolutely need to know what you're getting into before you even think about buying a DIY kit.
I've seen homeowners around Arlington Heights try to tackle this themselves. Sometimes it goes okay, sure. But more often than not, they end up calling me, or another pro, to clean up a mess that actually cost them more in the long run. Let's talk about what you can realistically handle and when it's just plain smarter to bring in the experts.
Before You Even Think About Spraying
Preparation is everything with closed cell foam. And I mean everything. This stuff expands like crazy, it sticks to anything, and once it's set, it's not coming off without a fight – or a whole lot of scraping and sanding. So, what exactly do you need to do?
- Clear the Area: No, really, clear it out. If you're working on a basement rim joist, move boxes, tools, anything you don't want encased in foam forever. If it's an attic, get all your stored items out of there.
- Protect Everything Else: Masking tape and plastic sheeting? Those are your new best friends. Cover floors, windows, plumbing pipes, electrical boxes – anything you don't want foam on. This isn't like painting, where a little splatter wipes right off. This is permanent.
- Ventilation is Non-Negotiable: Closed cell foam uses chemicals that react, right? You absolutely need good ventilation during and after you spray. We're talking industrial fans, open windows, and a clear path for fresh air. It's not just about the smell, either; those fumes can be harmful.
- Personal Protective Equipment (PPE): This isn't optional. You'll need a full-face respirator with the right cartridges, Tyvek suits, gloves, and eye protection. Don't cheap out here. Those fumes and particles are no joke, believe me.
- Surface Prep: The surface has to be clean, dry, and free of dust, oil, or any loose bits. If you're spraying over old wood, make sure it's solid.
Now, about that DIY vs. Pro question: Most homeowners can handle the clearing and masking. But getting the ventilation just right, having the proper PPE, and truly knowing what kind of surface prep is needed? That's where things get pretty tricky for a lot of people.
During the Spraying Process: This is Where Pros Shine
Okay, so let's say you've got your two-part spray foam kit, you're all suited up, and you're ready to go. Here's what you're up against:
- Temperature Matters: The foam chemicals need to be at a specific temperature to mix and cure correctly. If it's too cold in your garage in January, or too hot in your attic in July, you're going to have problems. The foam won't expand right, it won't cure hard, or it'll just turn into a sticky mess.
- Mixing Ratio: Those DIY kits are designed to mix correctly if you follow the instructions perfectly. But even a tiny inconsistency can lead to off-ratio foam, meaning it won't perform like it should, and it might stay gooey or crumbly.
- Application Technique: This is huge. You need to apply the foam in thin, even passes. Too thick, and it can overheat and crack. Too thin, and you're not getting the R-value you paid for. You also need to keep a consistent distance and speed. It takes practice, and with a limited-use kit, you don't have much room for error. We're talking about getting into those tight joist bays, around electrical wires, and making sure you hit every single nook and cranny.
- Overspray: No matter how good you are with the masking, overspray happens. And remember, it sticks to everything. A pro has specialized equipment and years of experience minimizing this.
Honestly, this is where I'd tell 99% of homeowners to just call a pro. The cost of a failed DIY attempt – wasted materials, potential health risks, and still having to hire someone to fix it – often ends up being more than just hiring someone like Allied Insulation from the start. Especially in older Arlington Heights homes, where you might have uneven joists or tricky angles, getting a consistent, effective layer of closed cell foam is a real skill.
After the Foam is Sprayed
Once the foam is down, it needs time to cure. This can take anywhere from a few hours to a day or two, depending on the product and conditions. During this time, you still need that ventilation going strong. Don't seal up the house and think you're done. You want to make sure any residual fumes are completely gone.
After it's cured, you'll want to inspect it. Is it hard and rigid? Is the thickness consistent? Are there any gaps or spots where it didn't expand properly? If you find issues, fixing them can be tough. You might need to cut out sections and reapply, which is a pain and uses more material.
For the most part, once closed cell foam is properly applied and cured, it's pretty maintenance-free. It's a fantastic air barrier and insulator. But getting to that point, especially with the precision closed cell requires, is usually best left to the folks who do it every day. We've got the gear, the training, and the experience to get it right the first time, ensuring your home is sealed up tight and energy-efficient for years to come.